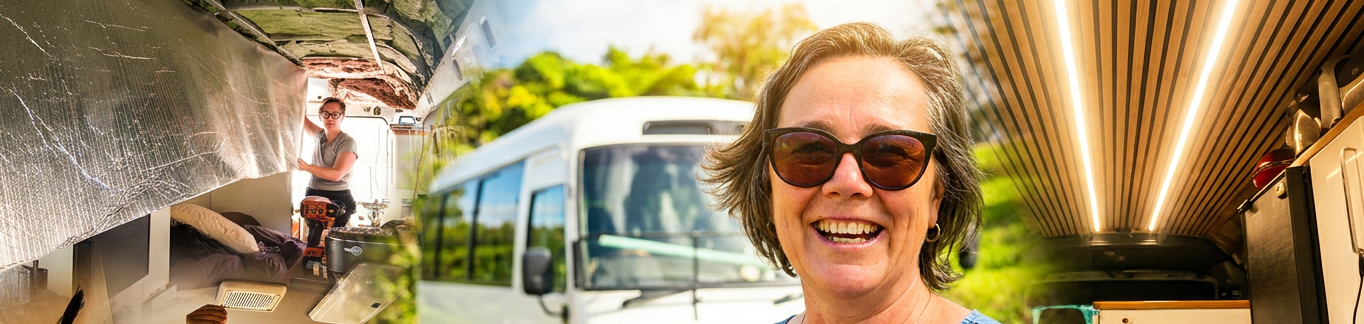
One unexpected consequence of chasing water leaks for weeks was that every other renovation project had been put on hold.
There wasn’t much point building beautiful new cupboards if water was still getting inside the bus.
Once I was reasonably confident the leaks were under control, I could finally start thinking about the next stage of the build.
Storage.
And lots of it.
🎥 Watch the Rear Storage Renovation Series
“Follow along as I transform the forgotten back section of my Toyota Coaster into practical storage while living in the bus.”
Then
📖 Read the build diary
Living in a Bus Teaches You What Doesn’t Work
When I first bought my Toyota Coaster, I inherited someone else’s layout.
Some parts worked surprisingly well.
Others…
Not so much.
The longer I lived in the bus, the more obvious its weaknesses became.
Storage wasn’t necessarily lacking.
It just wasn’t in the right places.
Some cupboards were difficult to reach.
Others wasted valuable space.
And a surprising amount of storage simply wasn’t practical for everyday life.
Living in a bus has a funny way of highlighting design flaws very quickly.
Starting With a Blank Canvas
The plan was ambitious.
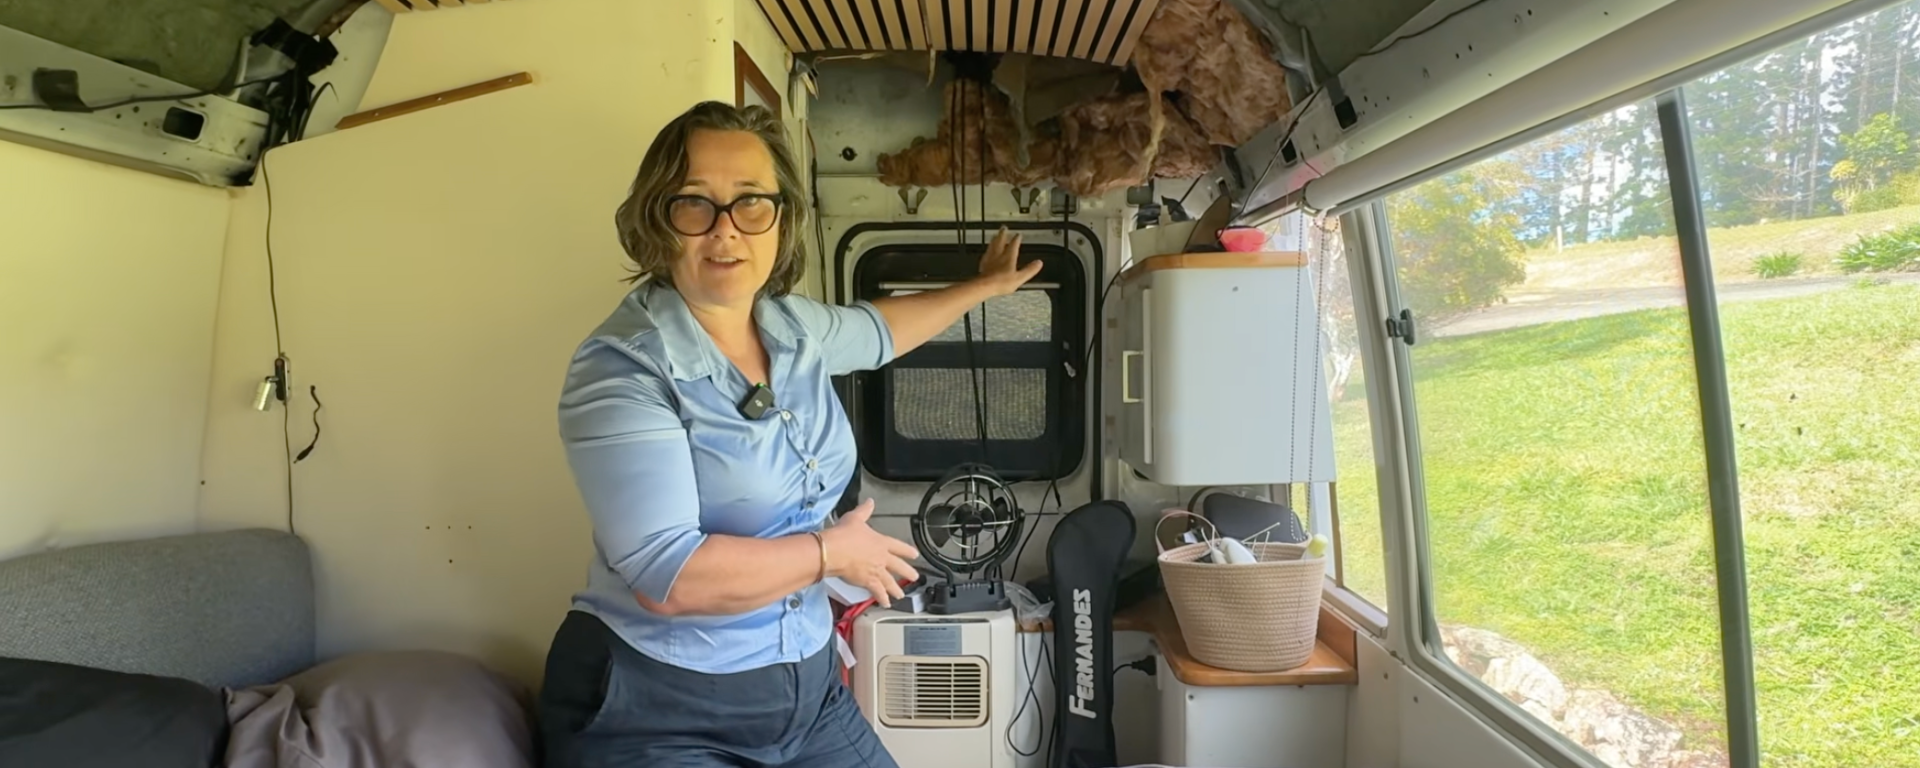
Rather than adding another cupboard or two, I wanted to rethink the entire rear section of the bus.
That meant removing:
- the existing overhead cupboards
- outdated cabinetry
- unused air-conditioning components
- temporary storage solutions
- and a fair bit of accumulated clutter.
It also meant living in a construction zone again for a while.
Not ideal…
But sometimes things have to get messier before they get better.
Designing Storage Around Real Life
One thing I’ve learned from travelling and living in small spaces is that storage isn’t about fitting in more stuff.
It’s about making the things you actually use easier to access.
I wanted somewhere for everyday items.
Somewhere for tools.
Somewhere for camera gear.
And somewhere to hide the inevitable collection of random bits that seem to appear during every renovation.
Good storage should make life feel simpler, not more cluttered.
Floor-to-Ceiling Cupboards
One idea Kevin and I discussed was building floor-to-ceiling cabinetry along one side of the bus.
This would dramatically increase storage while making better use of space that was currently wasted.
The obvious downside?
Would it make the bus feel smaller?
That’s always the balancing act with tiny homes.
Every extra cupboard adds useful storage, but it can also make the space feel more enclosed.
Finding the right balance would be one of the biggest design challenges of the whole renovation.
Making Room for a Washing Machine
Another item finally waiting for its permanent home was my little portable washing machine.
I’d used one during my European travels and absolutely loved it.
This one is slightly larger but follows the same principle.
The challenge was deciding whether it should stay permanently installed or simply have its own storage compartment.
After plenty of discussion, hiding it inside a cupboard seemed like the best option.
Out of sight when not in use.
Easy to access when needed.
Exactly how good storage should work.
Could Flat-Pack Cabinets Work?
Like many Australians tackling a DIY project, we ended up wandering through Bunnings looking for inspiration.
Could ready-made cabinets save time?
Possibly.
Would they actually fit inside a Toyota Coaster?
Probably not.
Unlike a house, nothing inside a bus is perfectly square.
Every wall curves.
Every measurement is slightly different.
In the end, custom-built cabinetry was always going to be the better solution.
Still, browsing display kitchens is never a bad way to collect ideas.
Asking the Internet Again
One of the best design resources I’ve found throughout this build hasn’t been a book or a builder.
It’s been all of you.
Every video generates ideas I’d never have considered.
Different layouts.
Storage tricks.
Lessons learned from your own camper builds.
Before committing to the next renovation, I wanted to hear what other people had done with their own buses and vans.
Sometimes the best idea is one you hadn’t thought of yet.
The Next Big Build Begins
Although this article marks the planning stage, it also marks the beginning of the biggest interior renovation I’ve tackled so far.
Over the coming months I’ll be rebuilding much of the rear living area, improving storage and hopefully making the bus far more practical to live in every day.
As always, I’m sure there will be a few unexpected problems along the way.
That seems to be how every project goes.
What Happens Next?
Now comes the fun part…Actually pulling everything apart.The planning is finished.
Then the measuring can be finished.
The shopping lists can grow.
👉 Continue with Building Better Storage in My Toyota Coaster (coming soon).
Bus Build Series
This article is part of my complete Toyota Coaster bus conversion.
If you’d like to follow the entire build, from buying the bus through to each renovation project, visit the Bus Build Index where you’ll find every article in the series.
Discover more from Helen Wheels - Solo Female Van Life Adventures
Subscribe to get the latest posts sent to your email.
 Helen Wheels - Solo Female Van Life Adventures