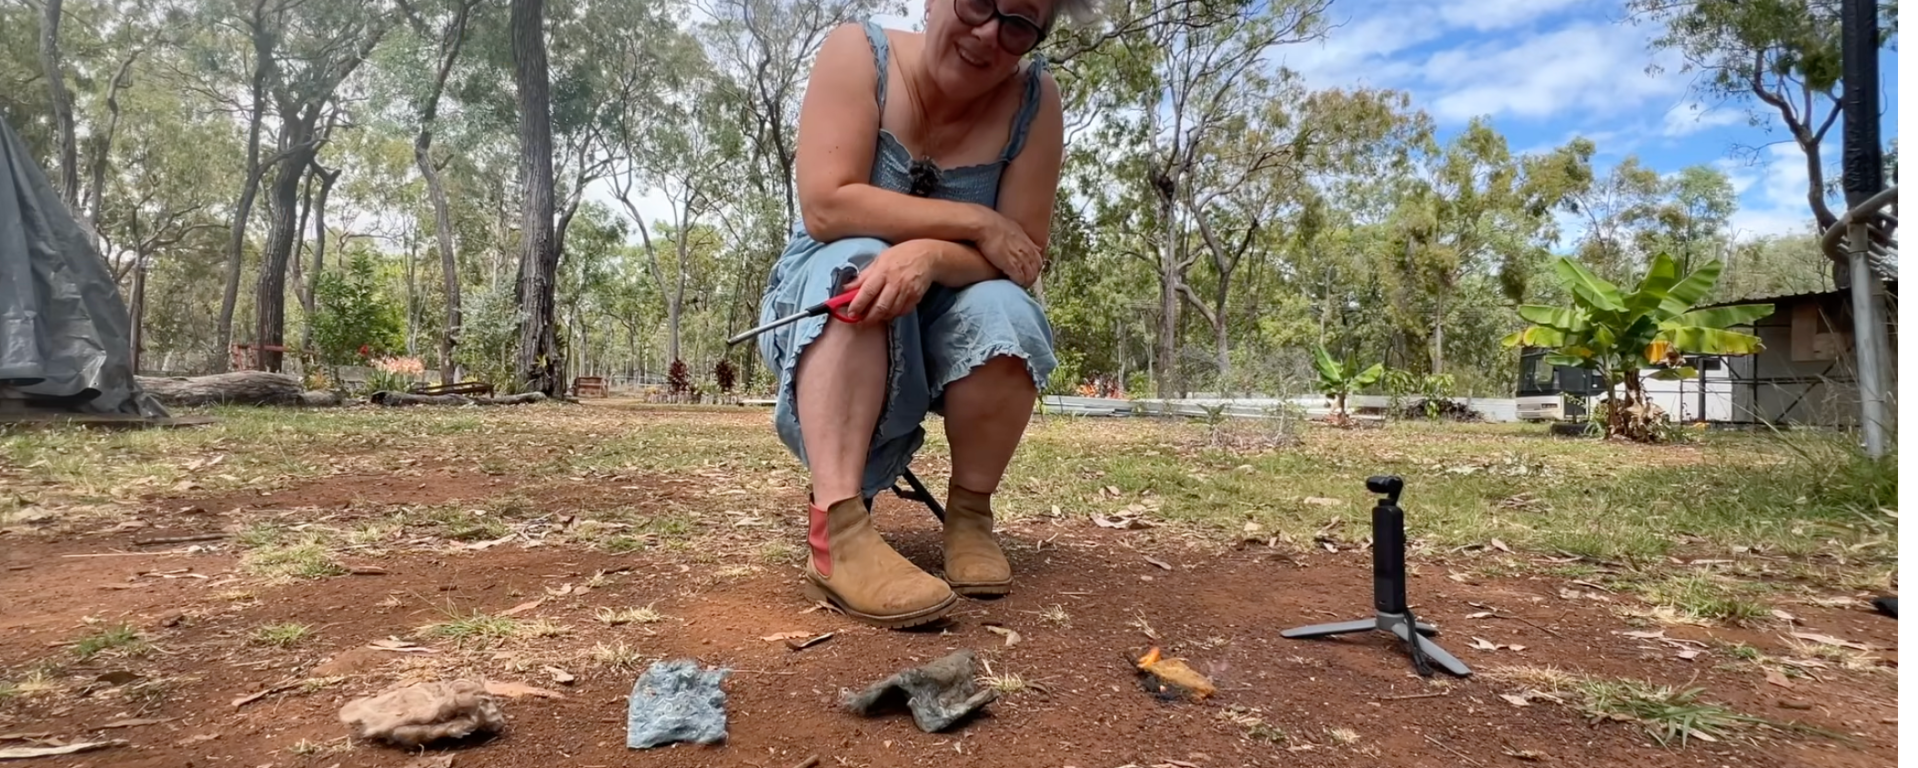
Sometimes the best way to answer an internet argument is with a lighter.
If you’ve spent any time researching bus conversions, you’ve probably seen the same advice repeated over and over:
“Rip out the factory insulation.”
Everyone seems to do it.
The problem is… very few people explain why.
When I pulled the ceiling out of my Toyota Coaster to install a new timber ceiling with LED lighting, I discovered two different factory materials hiding above the roof lining. Some people told me it was insulation. Others insisted it was only sound deadening. A few warned me it was highly flammable and should be removed immediately.
Instead of guessing, I decided to test it myself.
🎥 Prefer to watch instead?
If you’d rather see me deliberately set my bus insulation on fire, you can watch the full video here:
👉 https://youtu.be/0IqD9Pg2tow
Why I Started Pulling the Ceiling Apart
This all started because I hated my original ceiling.
The lighting was awful, the panels looked dated, and I wanted something that felt much warmer and more modern.
My plan sounded simple enough:
- remove the old ceiling
- install acoustic timber-look panels
- hide LED strip lighting between the slats
- enjoy my beautiful new ceiling
Easy.
Except… the ceiling couldn’t go back in until I decided what to do about the insulation sitting underneath it.
And that’s where the rabbit hole began.
Everyone Says Different Things About Bus Insulation
After asking around online, I discovered there isn’t much agreement.
Some people say:
- remove everything
- replace it with modern insulation
- factory insulation is useless
- factory insulation is dangerous
- factory insulation is only sound deadening
When everyone has a different opinion, it becomes very hard to know what’s actually true.
So I decided to stop reading opinions and start testing.
The Fire Test 🔥
I tested three different materials.
1. The original insulation from the front of the bus
This looked old.
It had deteriorated badly over the years and looked almost like carpet underlay.
The moment the flame touched it…
…it ignited almost instantly.
Even worse, it produced an awful smell.
That alone convinced me it wasn’t staying in the bus.
2. The original material from the main roof
This looked healthier than the first sample, but the results weren’t much better.
Once lit, it burned quickly.
Again, not something I wanted above my head while living in the bus.
3. New insulation batts from Bunnings
Finally, I tested the brand-new insulation I’d bought.
Completely different result.
It barely wanted to burn at all.
Instead of catching fire, it simply singed and went out.
That was exactly what I’d hoped to see.
From a fire safety perspective, the winner was obvious.
Then Everything Got More Complicated…
At this point I thought the decision was easy.
Rip everything out.
Replace it with the new insulation.
Done.
Except…
I also wanted to know which material actually insulated the bus better.
And that’s where I got a surprise.
Which One Actually Kept the Heat Out?
The roof of a bus gets incredibly hot sitting in the Australian sun.
By early afternoon, the metal roof ribs become almost too hot to touch.
So instead of relying on insulation ratings alone, I simply touched each section after it had been sitting in the heat.
I compared:
- the original factory material
- the new insulation batts
- reflective foil insulation with an air gap
To my surprise…
the original factory material actually felt cooler than the new insulation I’d installed.
That wasn’t the result I expected.
What I Learned About Insulation
While researching, I also discovered something important.
The insulation batts I’d bought were R4.
That’s great inside a house.
Not so great inside a bus.
Why?
Because insulation batts work by trapping air.
If you compress them into a shallow roof cavity, they lose much of their insulating ability.
Unfortunately…
that’s exactly what I’d done.
Lesson learned.
The Metal Roof Is the Real Problem
One thing became obvious during all my testing.
The steel roof supports heat up dramatically.
Even with insulation between them, those metal ribs conduct heat straight into the bus.
That made me think differently about the problem.
Instead of replacing everything, maybe I needed another layer that reflected radiant heat before it ever reached those metal supports.
The Solution I Chose
In the end I decided to combine the strengths of both systems.
My plan became:
- remove the deteriorated, highly flammable material
- keep the original factory insulation where it was still in good condition
- patch the empty sections with the new insulation
- install reflective foil insulation over the entire ceiling
- leave an air gap wherever possible
That gives me:
- improved fire resistance
- better heat reflection
- additional insulation
- and hopefully a much cooler bus.
Now I can finally get back to building the ceiling I’ve been looking forward to all along.
What surprised me most
This experiment reminded me why I like testing things for myself.
If I’d simply followed the internet, I would have ripped everything out without questioning it.
Instead, I learned that the answer wasn’t as simple as “replace it all.”
The material everyone criticised actually performed surprisingly well in one important area, while the brand-new insulation wasn’t automatically the perfect solution either.
Sometimes the best answer is somewhere in the middle.
What’s next?
With the insulation decision finally made, I can get back to the fun part:
Installing the new ceiling, fitting the LED strip lighting, and hopefully transforming the inside of the bus.
I’m ridiculously excited to see how it turns out.
🚐 Want More Like This?
If you’re enjoying the chaos and want to follow along as I figure this all out (sometimes successfully, sometimes… not 😬), you can:
👉 Subscribe for updates when new blogs and videos go live
Discover more from Helen Wheels - Solo Female Van Life Adventures
Subscribe to get the latest posts sent to your email.

